How to Root Huawei Packed with EMUI 8 and EMUI 9 or Higher with Magisk
We know rooting Samsung device with Magisk using the method of system-as-root. Huawei devices using Kirin processors have a different partitioning method from most common devices. Rooting Huawei devices depending on what EMUI version your device is running, the instructions wili be defferent.
Getting Started: Preparation
- Huawei Device packed with EMUI 8, 9 or higher;
- At least 50% battery level;
- USB Cable (the original one recommended);
- Install the
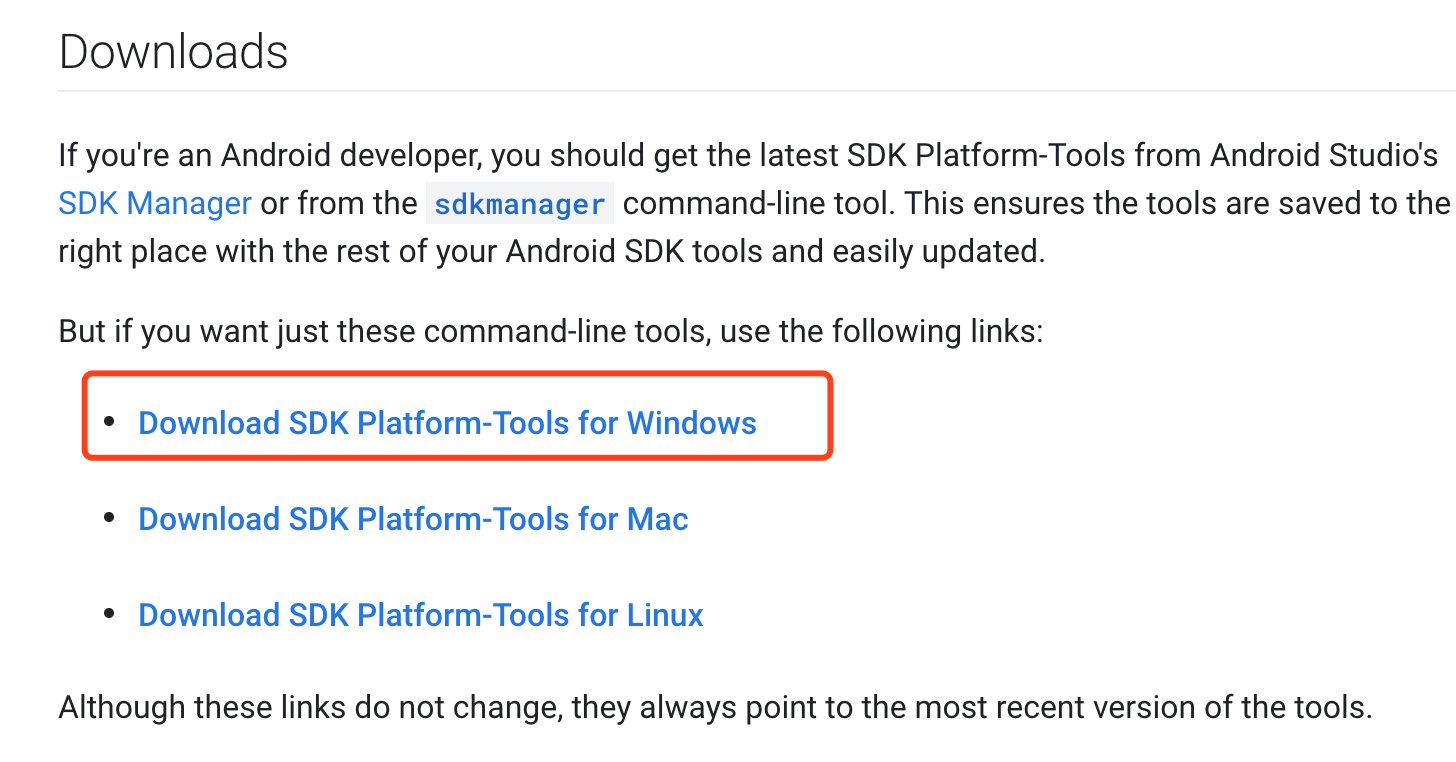
adbandfastboot. Just download the Google SDK Platform-Tools package for using the adb and fastboot. on your Windows. And Terminal for Mac. Mac just user Terminal. - The Latest Magisk Package. Download URL: https://magiskmanager.com/
- Backup everything in your Huawei device.
The Platform-Tools download websites: https://developer.android.com/studio/releases/platform-tools
Step by Step to Root Your Huawei Device with Magisk
Step 1: Plug your Android device into your computer via USB cable.
Step 2: Unzip the Platform-Tools package.
you download and then press "Shift" and click the right mouse, select "Open the command line here". Or just input the "cmd" in the top address bar the press the "Enter".
You will get the "cmd" window. All the following "adb" commands and fastboot commands are entered under the DOS interface.
Check your device whether it connects to network by input the following command in under the DOS interface: adb devices Check your USB and debugging if your device can't connect to network.
Step 3: Knowing your device
If your device is running anything older than Android 7.1, skip this section as your device will not be using A/B nor system-as-root. First, you need to know whether your device is using A/B partitions. If you don’t know, use a terminal (adb shell or any terminal emulator) to check with this command: getprop ro.build.ab_update. If the result is true, then your device is using A/B partitions. If your device is A/B, then your device is also certainly using system-as-root. To find out whether you are using system-as-root on a non-A/B device, use a terminal to check with this command: getprop ro.build.system_root_image. If the result is true, then your device is using system-as-root.
Step 4: Unlocking Bootloader of Huawei Device.
adb reboot bootloader
Step 5: Obtain Huawei Stock Imgages
Huawei does not release official factory images, however most firmware zips can be downloaded from the Huawei Firmware Database. To extract images from UPDATE.APP in the zip, you have to use Huawei Update Extractor (Windows only!)
Step 6: Huawei EMUI 8 using the extract ramdisk.img
- For EMUI 8 devices, your device has a partition named ramdisk, which is where Magisk is going to be installed.
- Extract
RAMDISK.imgfrom your firmware. Follow the instructions for boot image patching above, but use theRAMDISK.imgfile instead of a boot image. - To flash the patched image to your device, here is the fastboot command:
fastboot flash ramdisk /path/to/magisk_patched.img
Ste 7: Huawei EMUI 9 or higher using the extract recovery_ramdisk.img
- For EMUI 9+ devices, the ramdisk partition no longer exists. As a workaround, Magisk will be installed to the
recovery_ramdiskpartition. - Extract
RECOVERY_RAMDISK.imgfrom your firmware. Follow the instructions for boot image patching above, but use theRECOVERY_RAMDISK.imgfile instead of a boot image. - To flash the patched image to your device, here is the fastboot command:
fastboot flash recovery_ramdisk /path/to/magisk_patched.img
Ste 7: Reboot the device. Your Huawei Device is successfully rooted.
KingoRoot on Windows
KingoRoot Android on Windows has the highest success rate. It supports almost any Android device and version.

KingoRoot for Android
KingoRoot for Android is the most convenient and powerful apk root tool. Root any Android device and version without connecting to PC.

Top Posts
- Successfully Get Root Access On Android 10 (Google Pixle 3 XL) With Magisk
- How to Root Android without Computer (APK ROOT without PC)
- How to Root Android with KingoRoot (PC Version)
- Best Top 5 Root Tools to Safely Gain Root Access for Your Android Devices
- How to Root Your Android 10.0 with Kingoroot root APK and PC root
- How to Root Your Android 5G with Kingoroot root APK and PC root
- How to Root Android 9.0 Pie with Kingoroot Both root APK and PC root Software
- How to Root Android 8.0/8.1 Oreo with KingoRoot APK and Root Software
- How to Root Huawei Packed with EMUI 8 and EMUI 9 or Higher with Magisk
- How to Root Samsung running Android 9.0 Pie with Magisk